> ## Documentation Index
> Fetch the complete documentation index at: https://docs.cloosphere.ai/llms.txt
> Use this file to discover all available pages before exploring further.
# Advanced Features
> Enable and use web search, image generation, and code execution
Beyond basic AI conversations, Cloosphere Chat offers three advanced features: **web search**, **image generation**, and **code execution**.
Click the **"+"** button on the left of the input box to open the capability toggles and file attachment menu.
 ## Activation Conditions
Advanced features only appear in the menu when **all** of the following are satisfied.
```mermaid theme={null}
flowchart LR
A[Admin system settings enabled] --> D{Show in menu}
B[User permission held] --> D
C[Model capability allowed] --> D
D -->|All satisfied| E[Feature available]
```
| Condition | Description |
| -------------------- | --------------------------------------------------------------- |
| **System setting** | Admin must enable the feature globally |
| **User permission** | Permissions like `permissions.features.web_search` are required |
| **Model capability** | The agent's capability setting must not be `off` |
Admins (`admin` role) bypass permission checks, so as long as system settings are enabled, they can use the feature.
## Feature Details
### Web Search
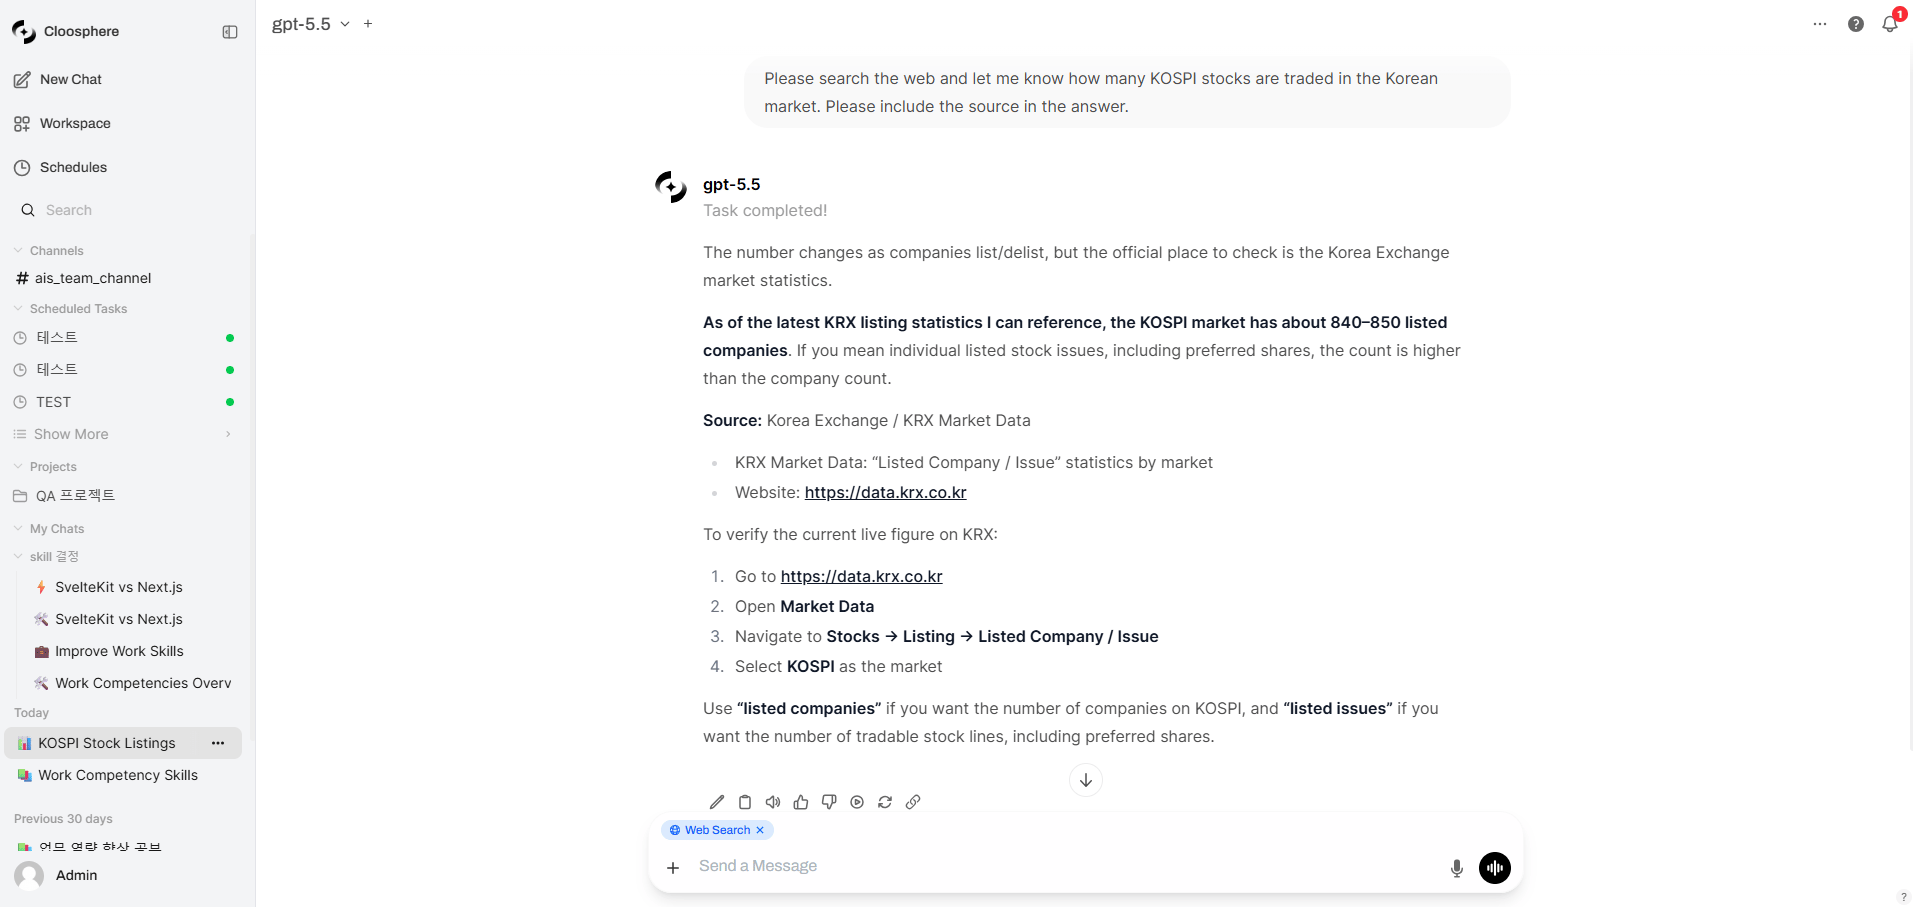
The AI searches the web in real time and answers based on the latest information.
## Activation Conditions
Advanced features only appear in the menu when **all** of the following are satisfied.
```mermaid theme={null}
flowchart LR
A[Admin system settings enabled] --> D{Show in menu}
B[User permission held] --> D
C[Model capability allowed] --> D
D -->|All satisfied| E[Feature available]
```
| Condition | Description |
| -------------------- | --------------------------------------------------------------- |
| **System setting** | Admin must enable the feature globally |
| **User permission** | Permissions like `permissions.features.web_search` are required |
| **Model capability** | The agent's capability setting must not be `off` |
Admins (`admin` role) bypass permission checks, so as long as system settings are enabled, they can use the feature.
## Feature Details
### Web Search
The AI searches the web in real time and answers based on the latest information.
 #### How to Enable
Click the **"+"** button on the left of the input box.
Toggle on **Web Search**. After enabling, web search is applied to subsequent messages.
#### How It Works
1. The AI auto-extracts a search query from the user's question
2. Performs web search via the admin-configured search engine (SearxNG, Google PSE, Brave, etc.)
3. Search result URL list and query are shown collapsed
4. Generates an answer using the search results as context
5. Provides source links as citations
#### Search Result Display
The search query and referenced URL list appear at the top of the response in collapsible form.
Click each URL to navigate to the original page.
In **Settings > Interface**, set **Web Search in Chat** to **Always** to auto-search in every conversation without toggling.
#### Use Cases
* "What's today's KOSPI index?"
* "What are the latest AI trends?"
* "Find recent news about this company"
### Image Generation
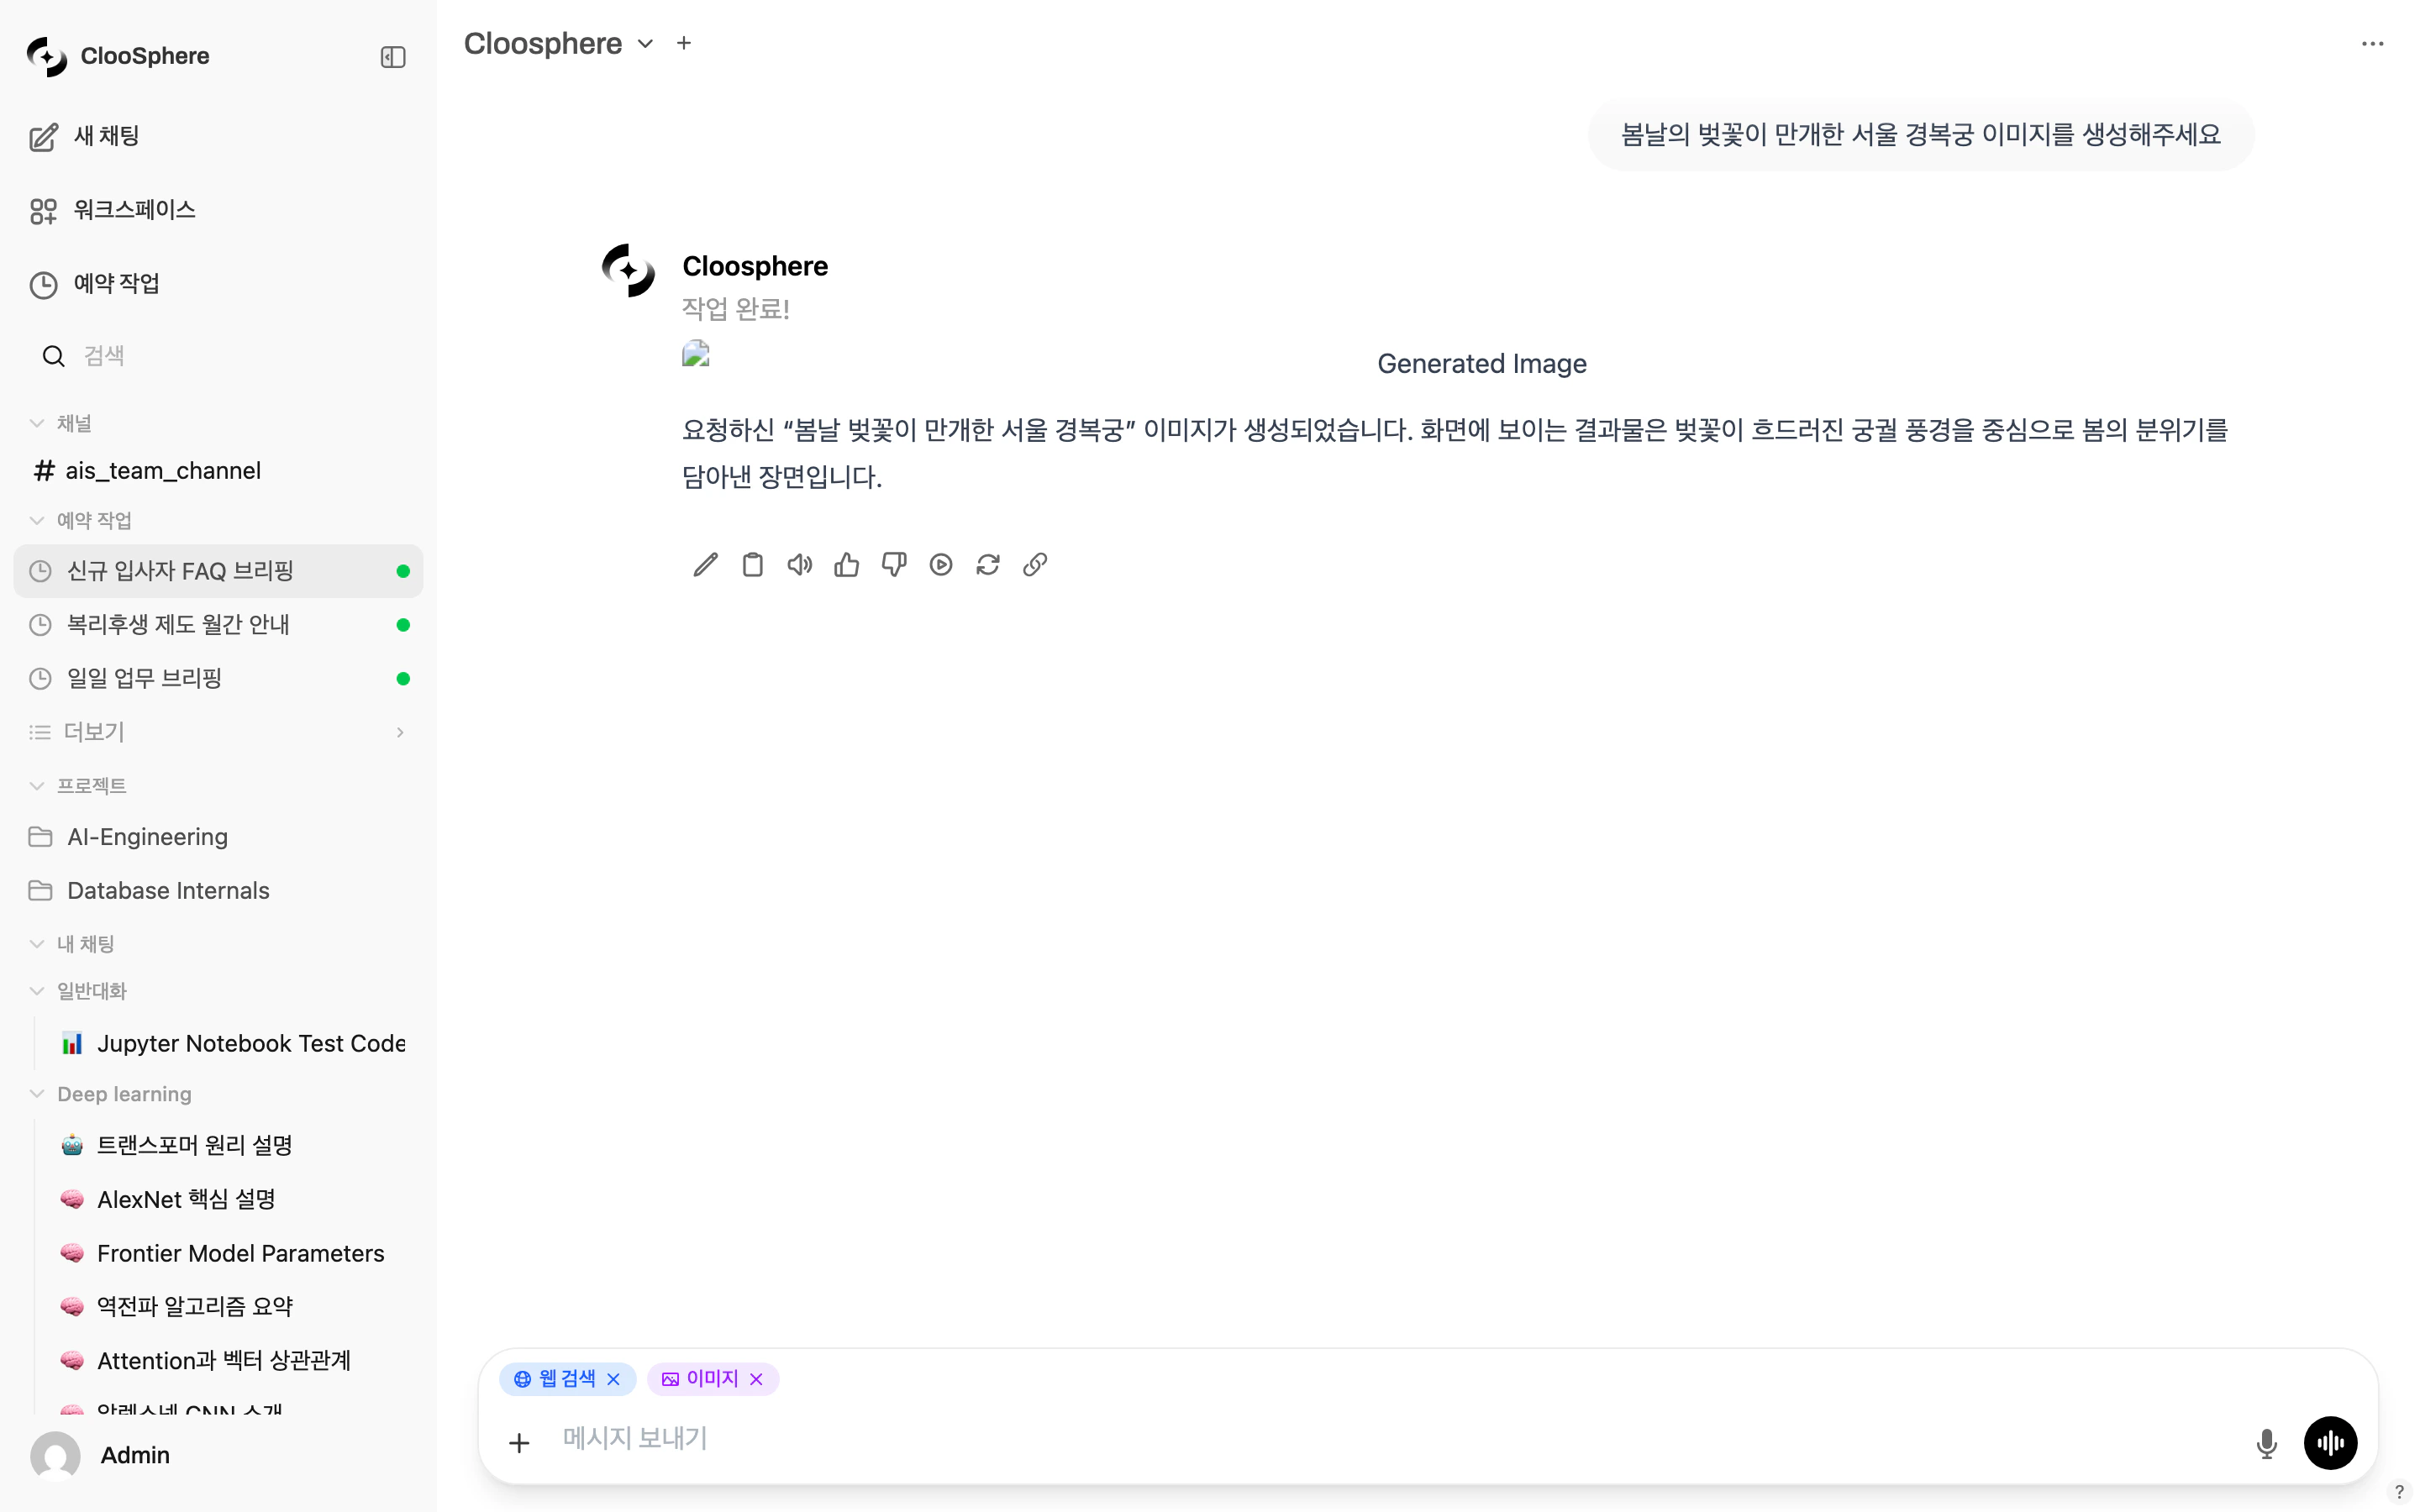
Use image generation models like DALL-E to generate images from text prompts.
#### How to Enable
Click the **"+"** button on the left of the input box.
Toggle on **Web Search**. After enabling, web search is applied to subsequent messages.
#### How It Works
1. The AI auto-extracts a search query from the user's question
2. Performs web search via the admin-configured search engine (SearxNG, Google PSE, Brave, etc.)
3. Search result URL list and query are shown collapsed
4. Generates an answer using the search results as context
5. Provides source links as citations
#### Search Result Display
The search query and referenced URL list appear at the top of the response in collapsible form.
Click each URL to navigate to the original page.
In **Settings > Interface**, set **Web Search in Chat** to **Always** to auto-search in every conversation without toggling.
#### Use Cases
* "What's today's KOSPI index?"
* "What are the latest AI trends?"
* "Find recent news about this company"
### Image Generation
Use image generation models like DALL-E to generate images from text prompts.
 #### How to Enable
When multiple image generation Connections are configured, choose which Connection to use from the submenu.
Click the **"+"** button on the left of the input box.
Click **Image Generation** (may appear as **Image** depending on admin settings) — available Connections appear.
Pick the image generation engine to use. Hover over each Connection to see details like deployment name, size, format, and quality.
#### Connection Info
Each image Connection includes:
| Item | Description |
| -------------- | -------------------------------------------------------- |
| **Deployment** | Image generation deployment name (Azure deployment name) |
| **Size** | Output image size (e.g., 1024x1024) |
| **Format** | Output format (PNG, JPEG, etc.) |
| **Quality** | Image quality setting (when applicable) |
#### Prompt Tips
* **Be specific**: Instead of "mountain", say "snow-covered Alps at sunrise, photorealistic"
* **Specify style**: "watercolor", "minimal illustration", "3D render"
* **State composition**: "wide shot", "close-up", "aerial view"
For agent models, admins can restrict to specific Connections. In that case, only allowed Connections appear in the list.
### Code Interpreter
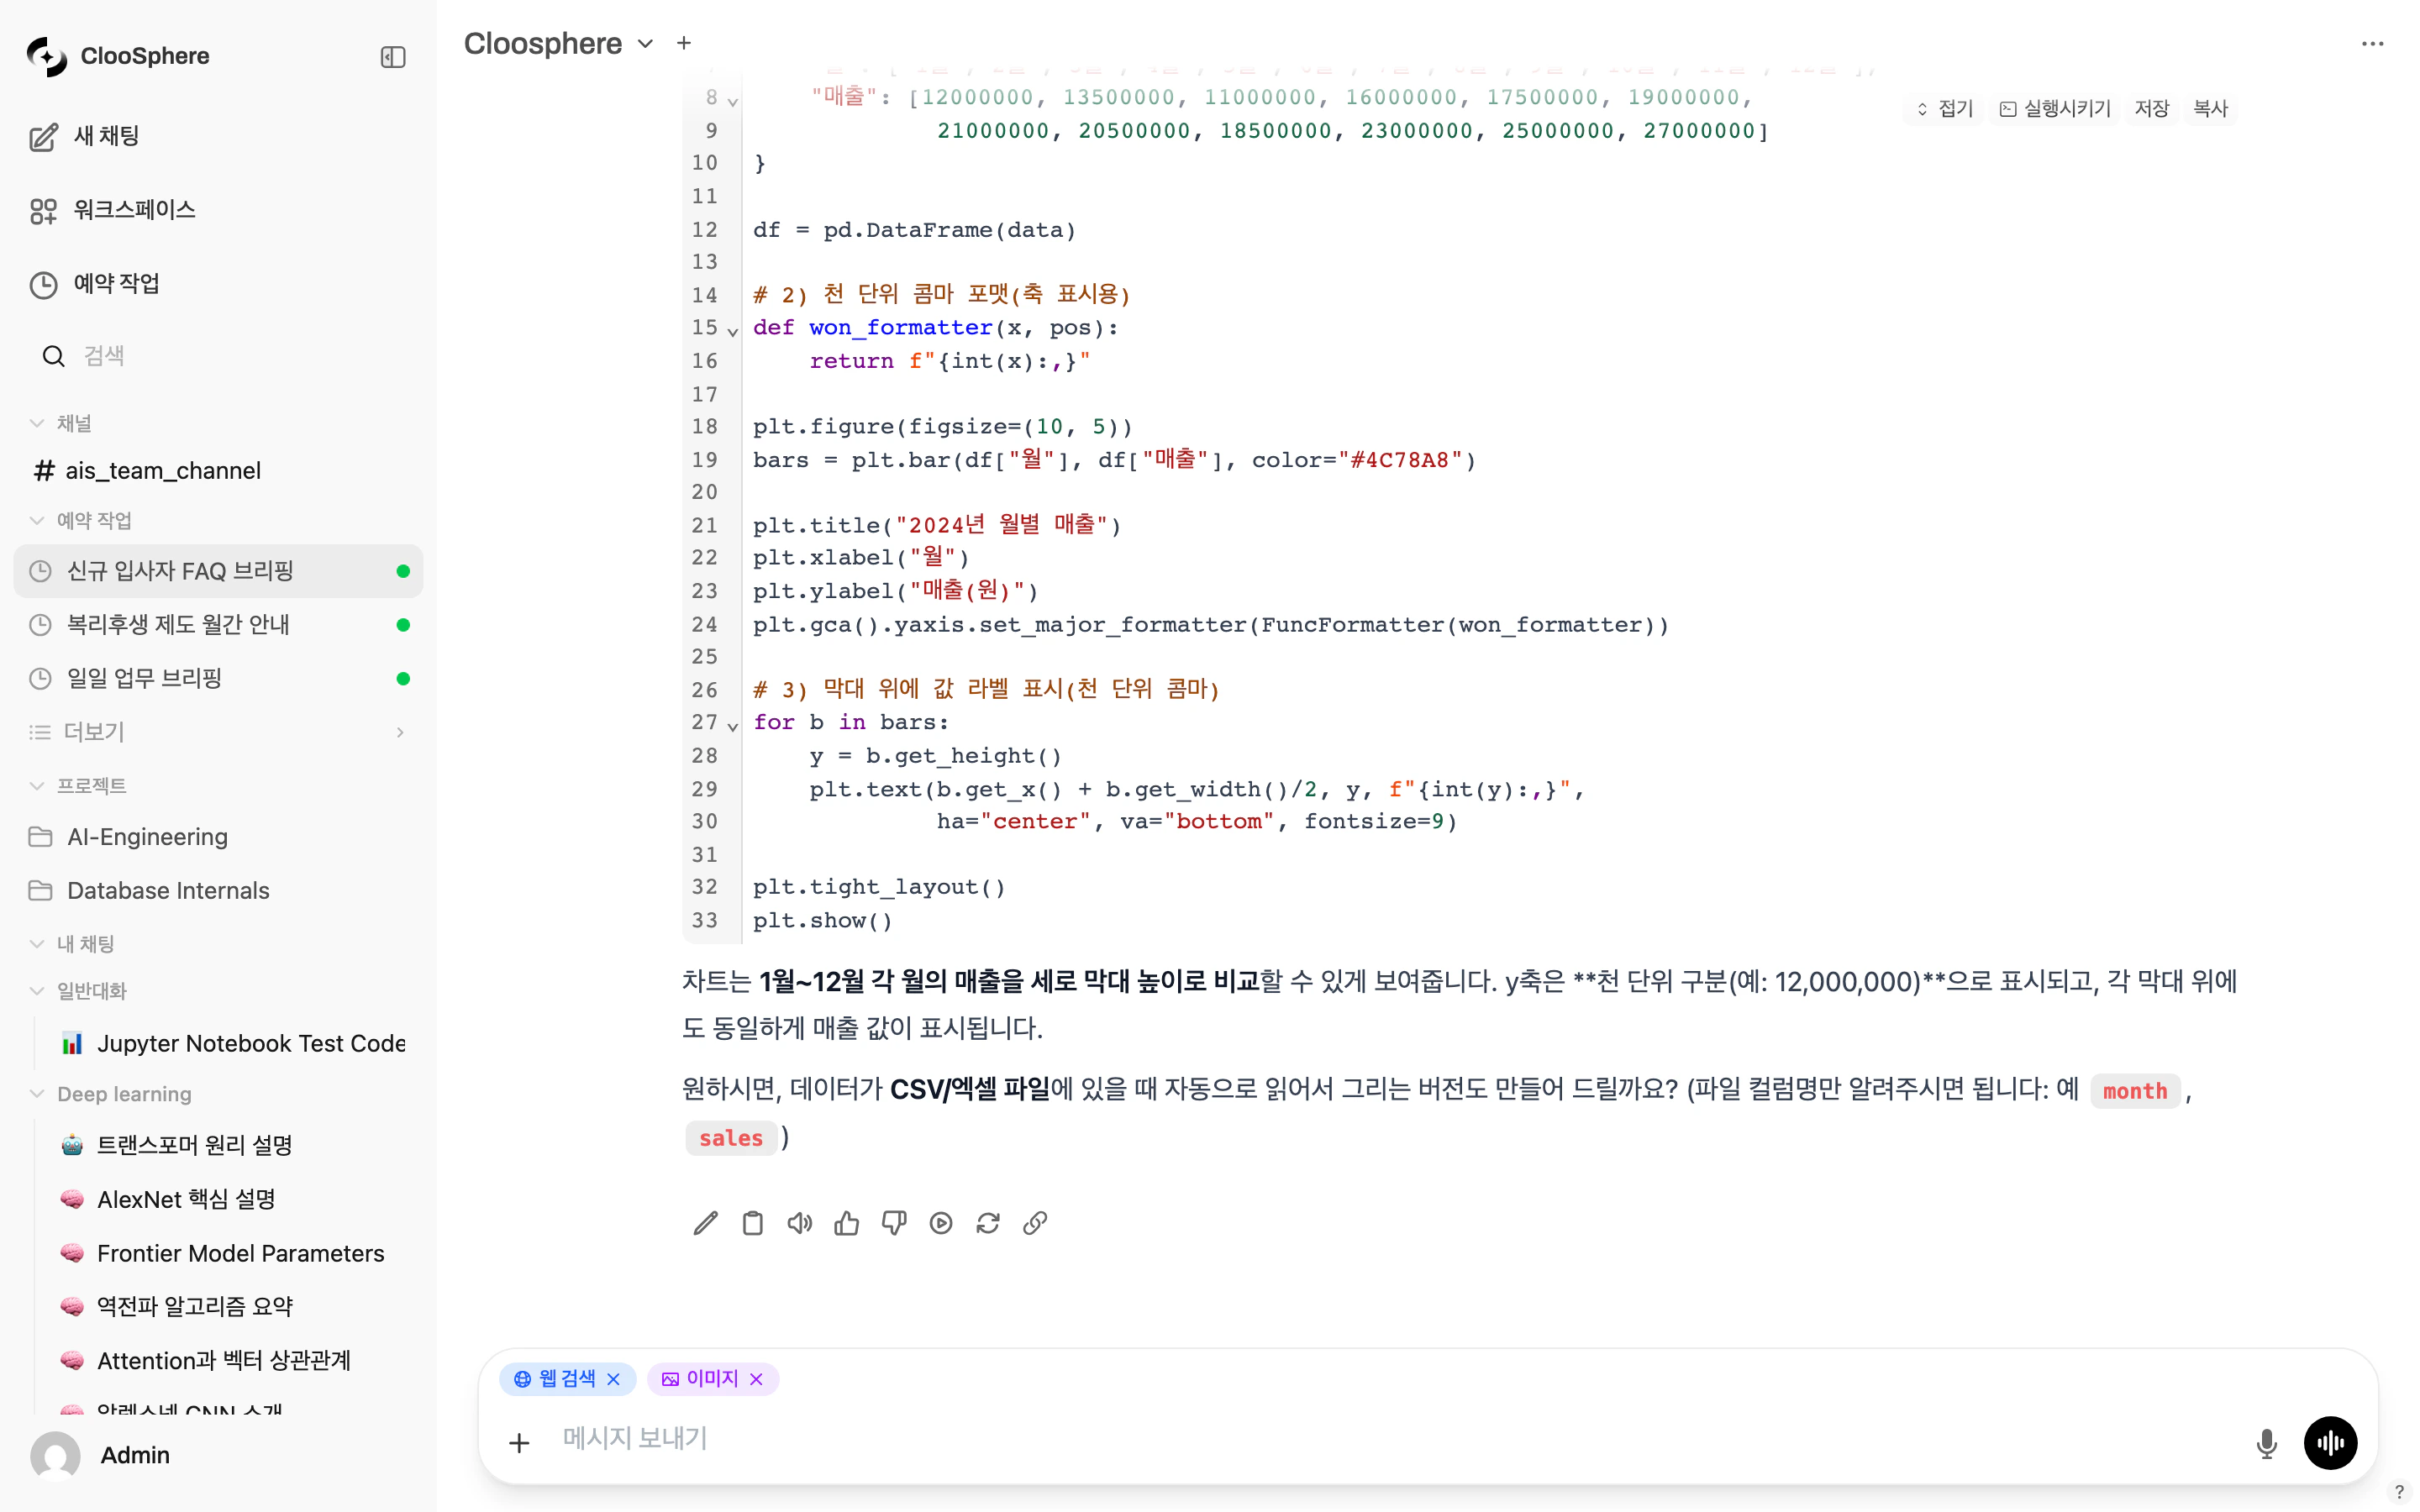
Run AI-generated code directly and see results.
#### How to Enable
When multiple image generation Connections are configured, choose which Connection to use from the submenu.
Click the **"+"** button on the left of the input box.
Click **Image Generation** (may appear as **Image** depending on admin settings) — available Connections appear.
Pick the image generation engine to use. Hover over each Connection to see details like deployment name, size, format, and quality.
#### Connection Info
Each image Connection includes:
| Item | Description |
| -------------- | -------------------------------------------------------- |
| **Deployment** | Image generation deployment name (Azure deployment name) |
| **Size** | Output image size (e.g., 1024x1024) |
| **Format** | Output format (PNG, JPEG, etc.) |
| **Quality** | Image quality setting (when applicable) |
#### Prompt Tips
* **Be specific**: Instead of "mountain", say "snow-covered Alps at sunrise, photorealistic"
* **Specify style**: "watercolor", "minimal illustration", "3D render"
* **State composition**: "wide shot", "close-up", "aerial view"
For agent models, admins can restrict to specific Connections. In that case, only allowed Connections appear in the list.
### Code Interpreter
Run AI-generated code directly and see results.
 #### How to Enable
Click the **"+"** button on the left of the input box.
Toggle on **Code Interpreter**.
#### Supported Features
| Feature | Description |
| ---------------------- | --------------------------------------------------------------------------- |
| **Python execution** | Run Python via Pyodide (browser) or server-side Jupyter (per admin setting) |
| **Data visualization** | Generate charts using matplotlib, plotly, etc. |
| **File generation** | Download code execution outputs as files |
| **Result display** | Real-time stdout, stderr, and return value display |
#### Code Block Execution
When the AI generates a response containing code blocks, a **Run** button appears at the top of each block.
Clicking runs the code and displays results below the block.
#### Artifact Viewer
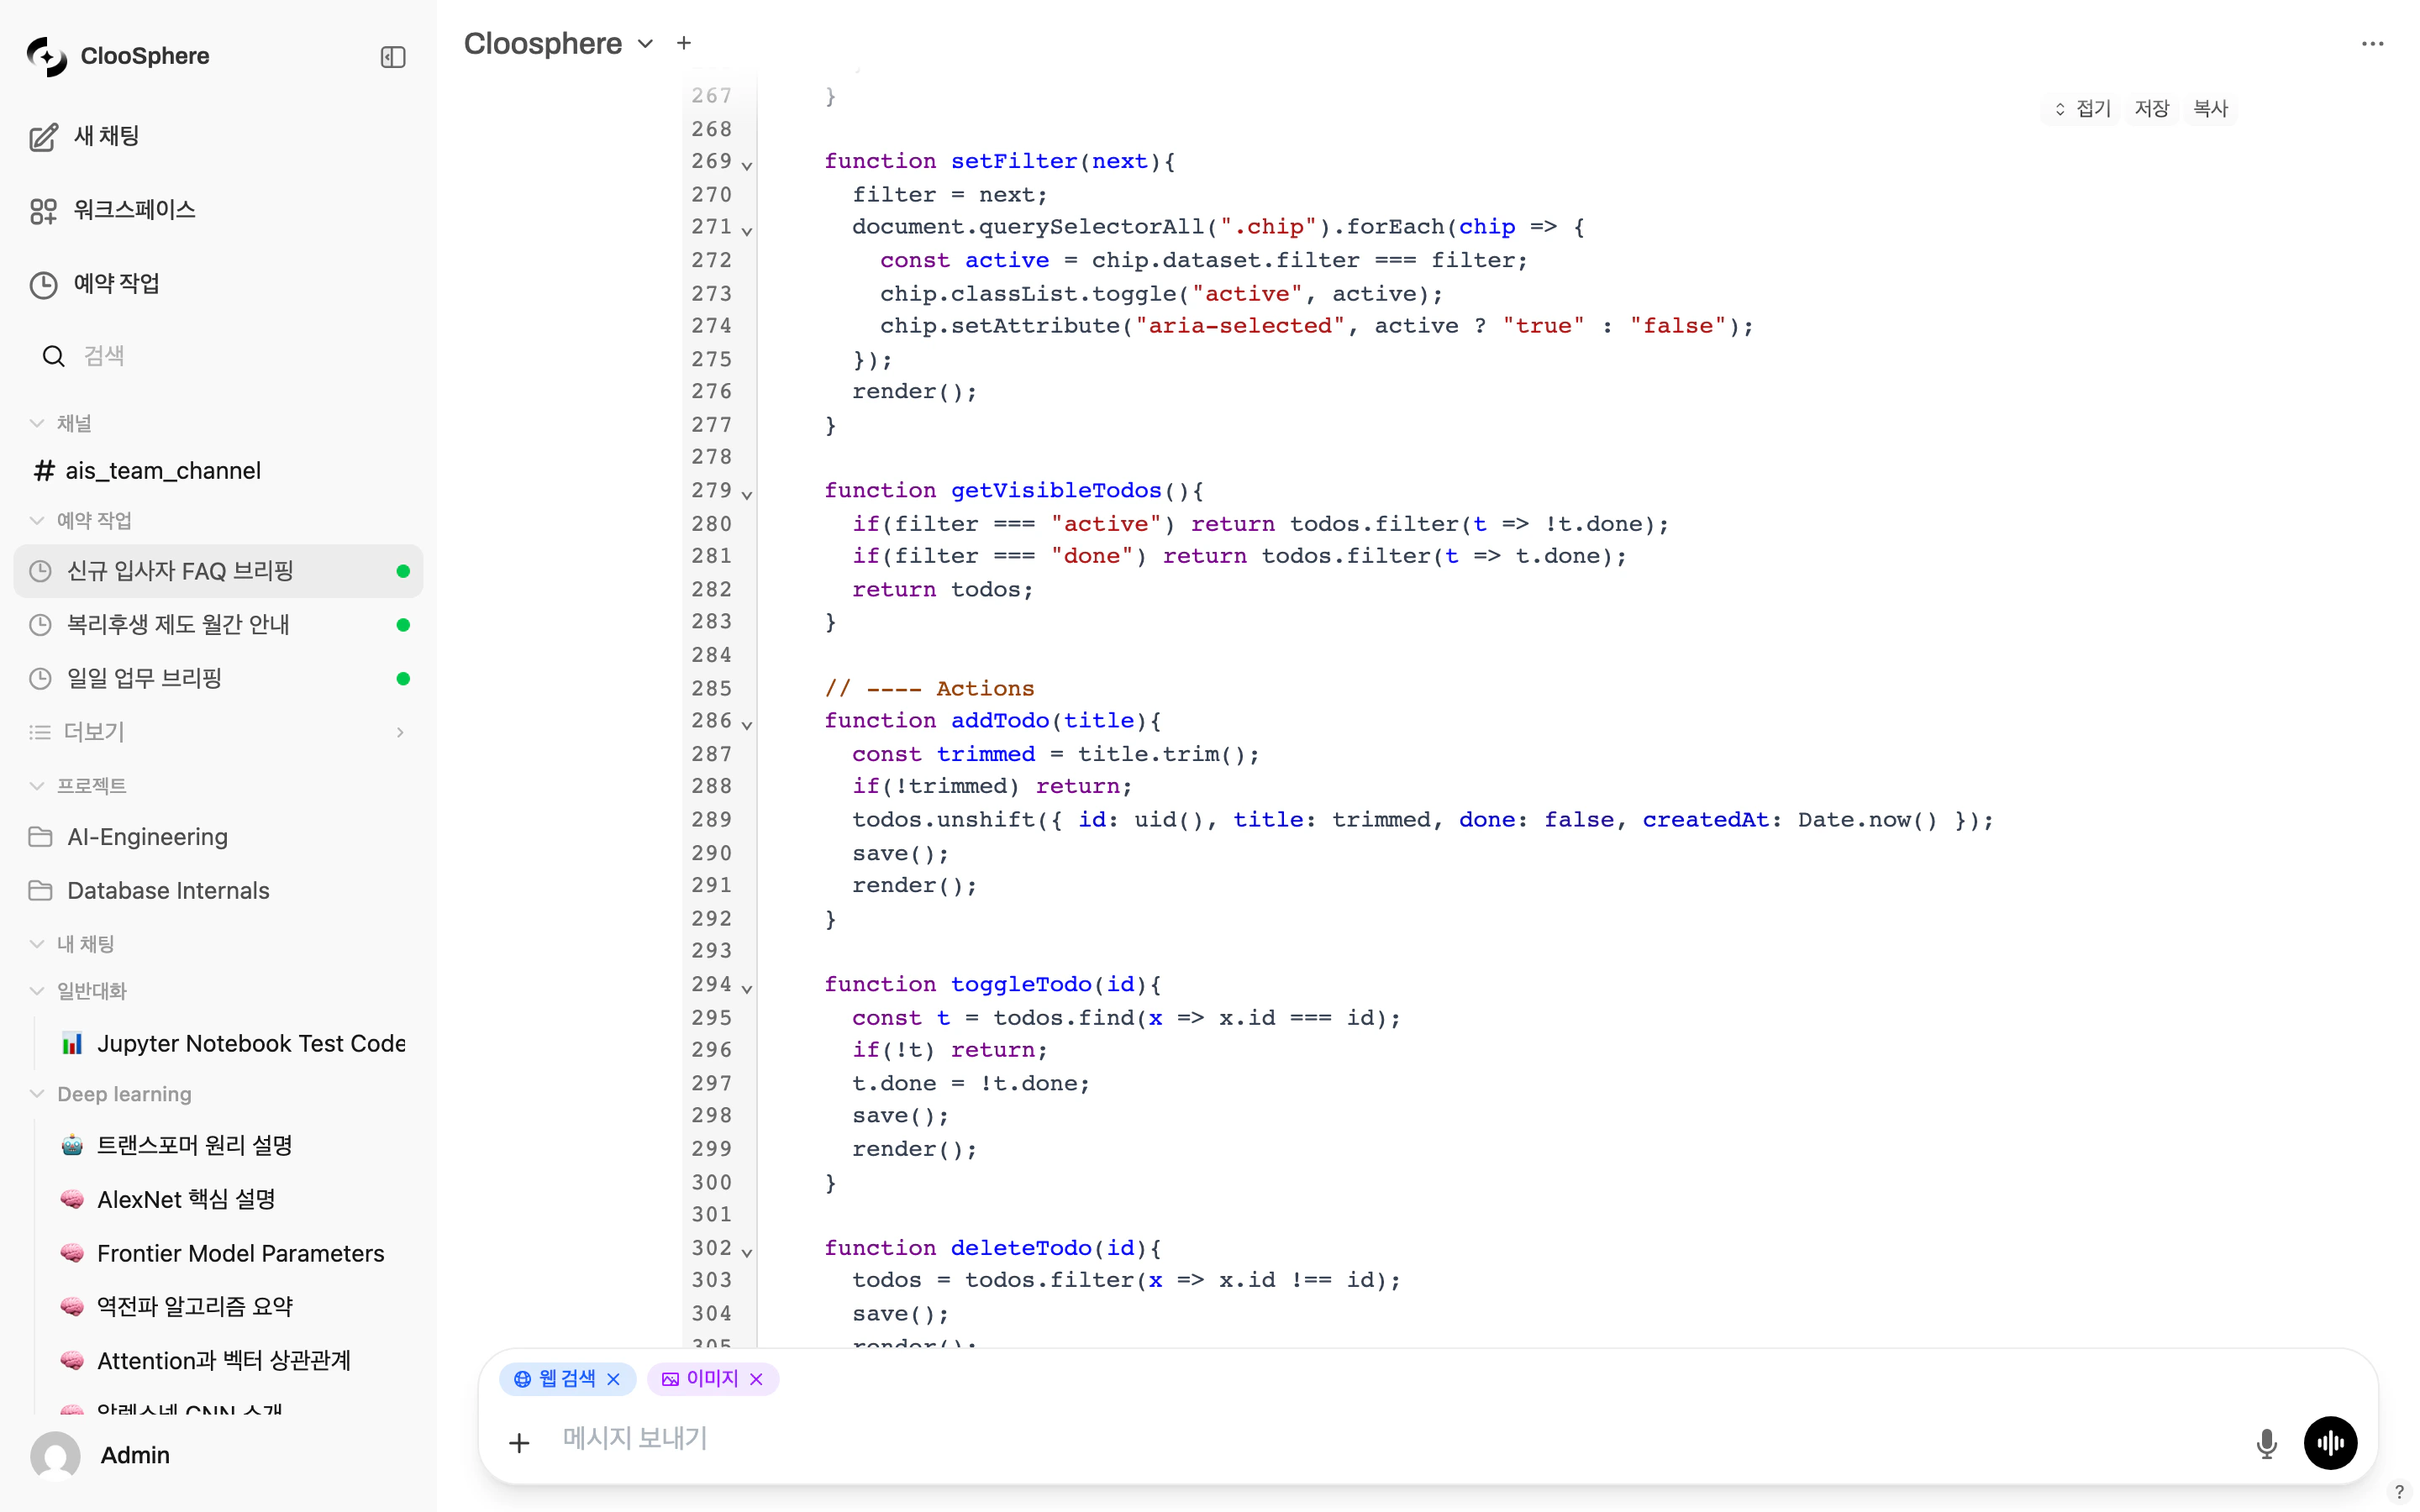
When the AI generates HTML or SVG code, the Artifact Viewer panel **auto-opens** to display the rendered result.
Ask the AI to generate web pages, charts, SVG graphics, UI components, etc.
When HTML/SVG is generated, the Artifact Viewer panel auto-opens with rendered output.
Inspect the rendered output in the Artifact panel and copy code if needed.
#### How to Enable
Click the **"+"** button on the left of the input box.
Toggle on **Code Interpreter**.
#### Supported Features
| Feature | Description |
| ---------------------- | --------------------------------------------------------------------------- |
| **Python execution** | Run Python via Pyodide (browser) or server-side Jupyter (per admin setting) |
| **Data visualization** | Generate charts using matplotlib, plotly, etc. |
| **File generation** | Download code execution outputs as files |
| **Result display** | Real-time stdout, stderr, and return value display |
#### Code Block Execution
When the AI generates a response containing code blocks, a **Run** button appears at the top of each block.
Clicking runs the code and displays results below the block.
#### Artifact Viewer
When the AI generates HTML or SVG code, the Artifact Viewer panel **auto-opens** to display the rendered result.
Ask the AI to generate web pages, charts, SVG graphics, UI components, etc.
When HTML/SVG is generated, the Artifact Viewer panel auto-opens with rendered output.
Inspect the rendered output in the Artifact panel and copy code if needed.
 In browser (Pyodide) mode, system access and network requests are restricted. When admins configure server-side Jupyter, those restrictions may not apply.
## Using Tools
Beyond advanced features, you can enable **Tools** registered by the admin in conversations.
The available Tool list appears at the top of the toggle menu, with switches to individually enable/disable.
In browser (Pyodide) mode, system access and network requests are restricted. When admins configure server-side Jupyter, those restrictions may not apply.
## Using Tools
Beyond advanced features, you can enable **Tools** registered by the admin in conversations.
The available Tool list appears at the top of the toggle menu, with switches to individually enable/disable.
 | Item | Description |
| -------------------- | ------------------------------------ |
| **Tool name** | Name of the tool registered by admin |
| **Tool description** | Tooltip shown on hover |
| **Enable switch** | Toggle Tool use in this conversation |
Tools are enabled per conversation. Enabling a Tool in one conversation doesn't affect others.
## Agent vs. Base Model
Advanced feature availability depends on the selected model type.
| Feature | Agent Model | Base Model |
| -------------------- | ---------------------- | -------------------------------------------- |
| **Web Search** | Per Capability setting | Shown when system + user permissions are met |
| **Image Generation** | Per Capability setting | Shown when system + user permissions are met |
| **Code Interpreter** | Per Capability setting | Shown when system + user permissions are met |
In agent models, capabilities set to `on` are auto-enabled at conversation start.
Capabilities set to `user` must be toggled by the user.
| Item | Description |
| -------------------- | ------------------------------------ |
| **Tool name** | Name of the tool registered by admin |
| **Tool description** | Tooltip shown on hover |
| **Enable switch** | Toggle Tool use in this conversation |
Tools are enabled per conversation. Enabling a Tool in one conversation doesn't affect others.
## Agent vs. Base Model
Advanced feature availability depends on the selected model type.
| Feature | Agent Model | Base Model |
| -------------------- | ---------------------- | -------------------------------------------- |
| **Web Search** | Per Capability setting | Shown when system + user permissions are met |
| **Image Generation** | Per Capability setting | Shown when system + user permissions are met |
| **Code Interpreter** | Per Capability setting | Shown when system + user permissions are met |
In agent models, capabilities set to `on` are auto-enabled at conversation start.
Capabilities set to `user` must be toggled by the user.