
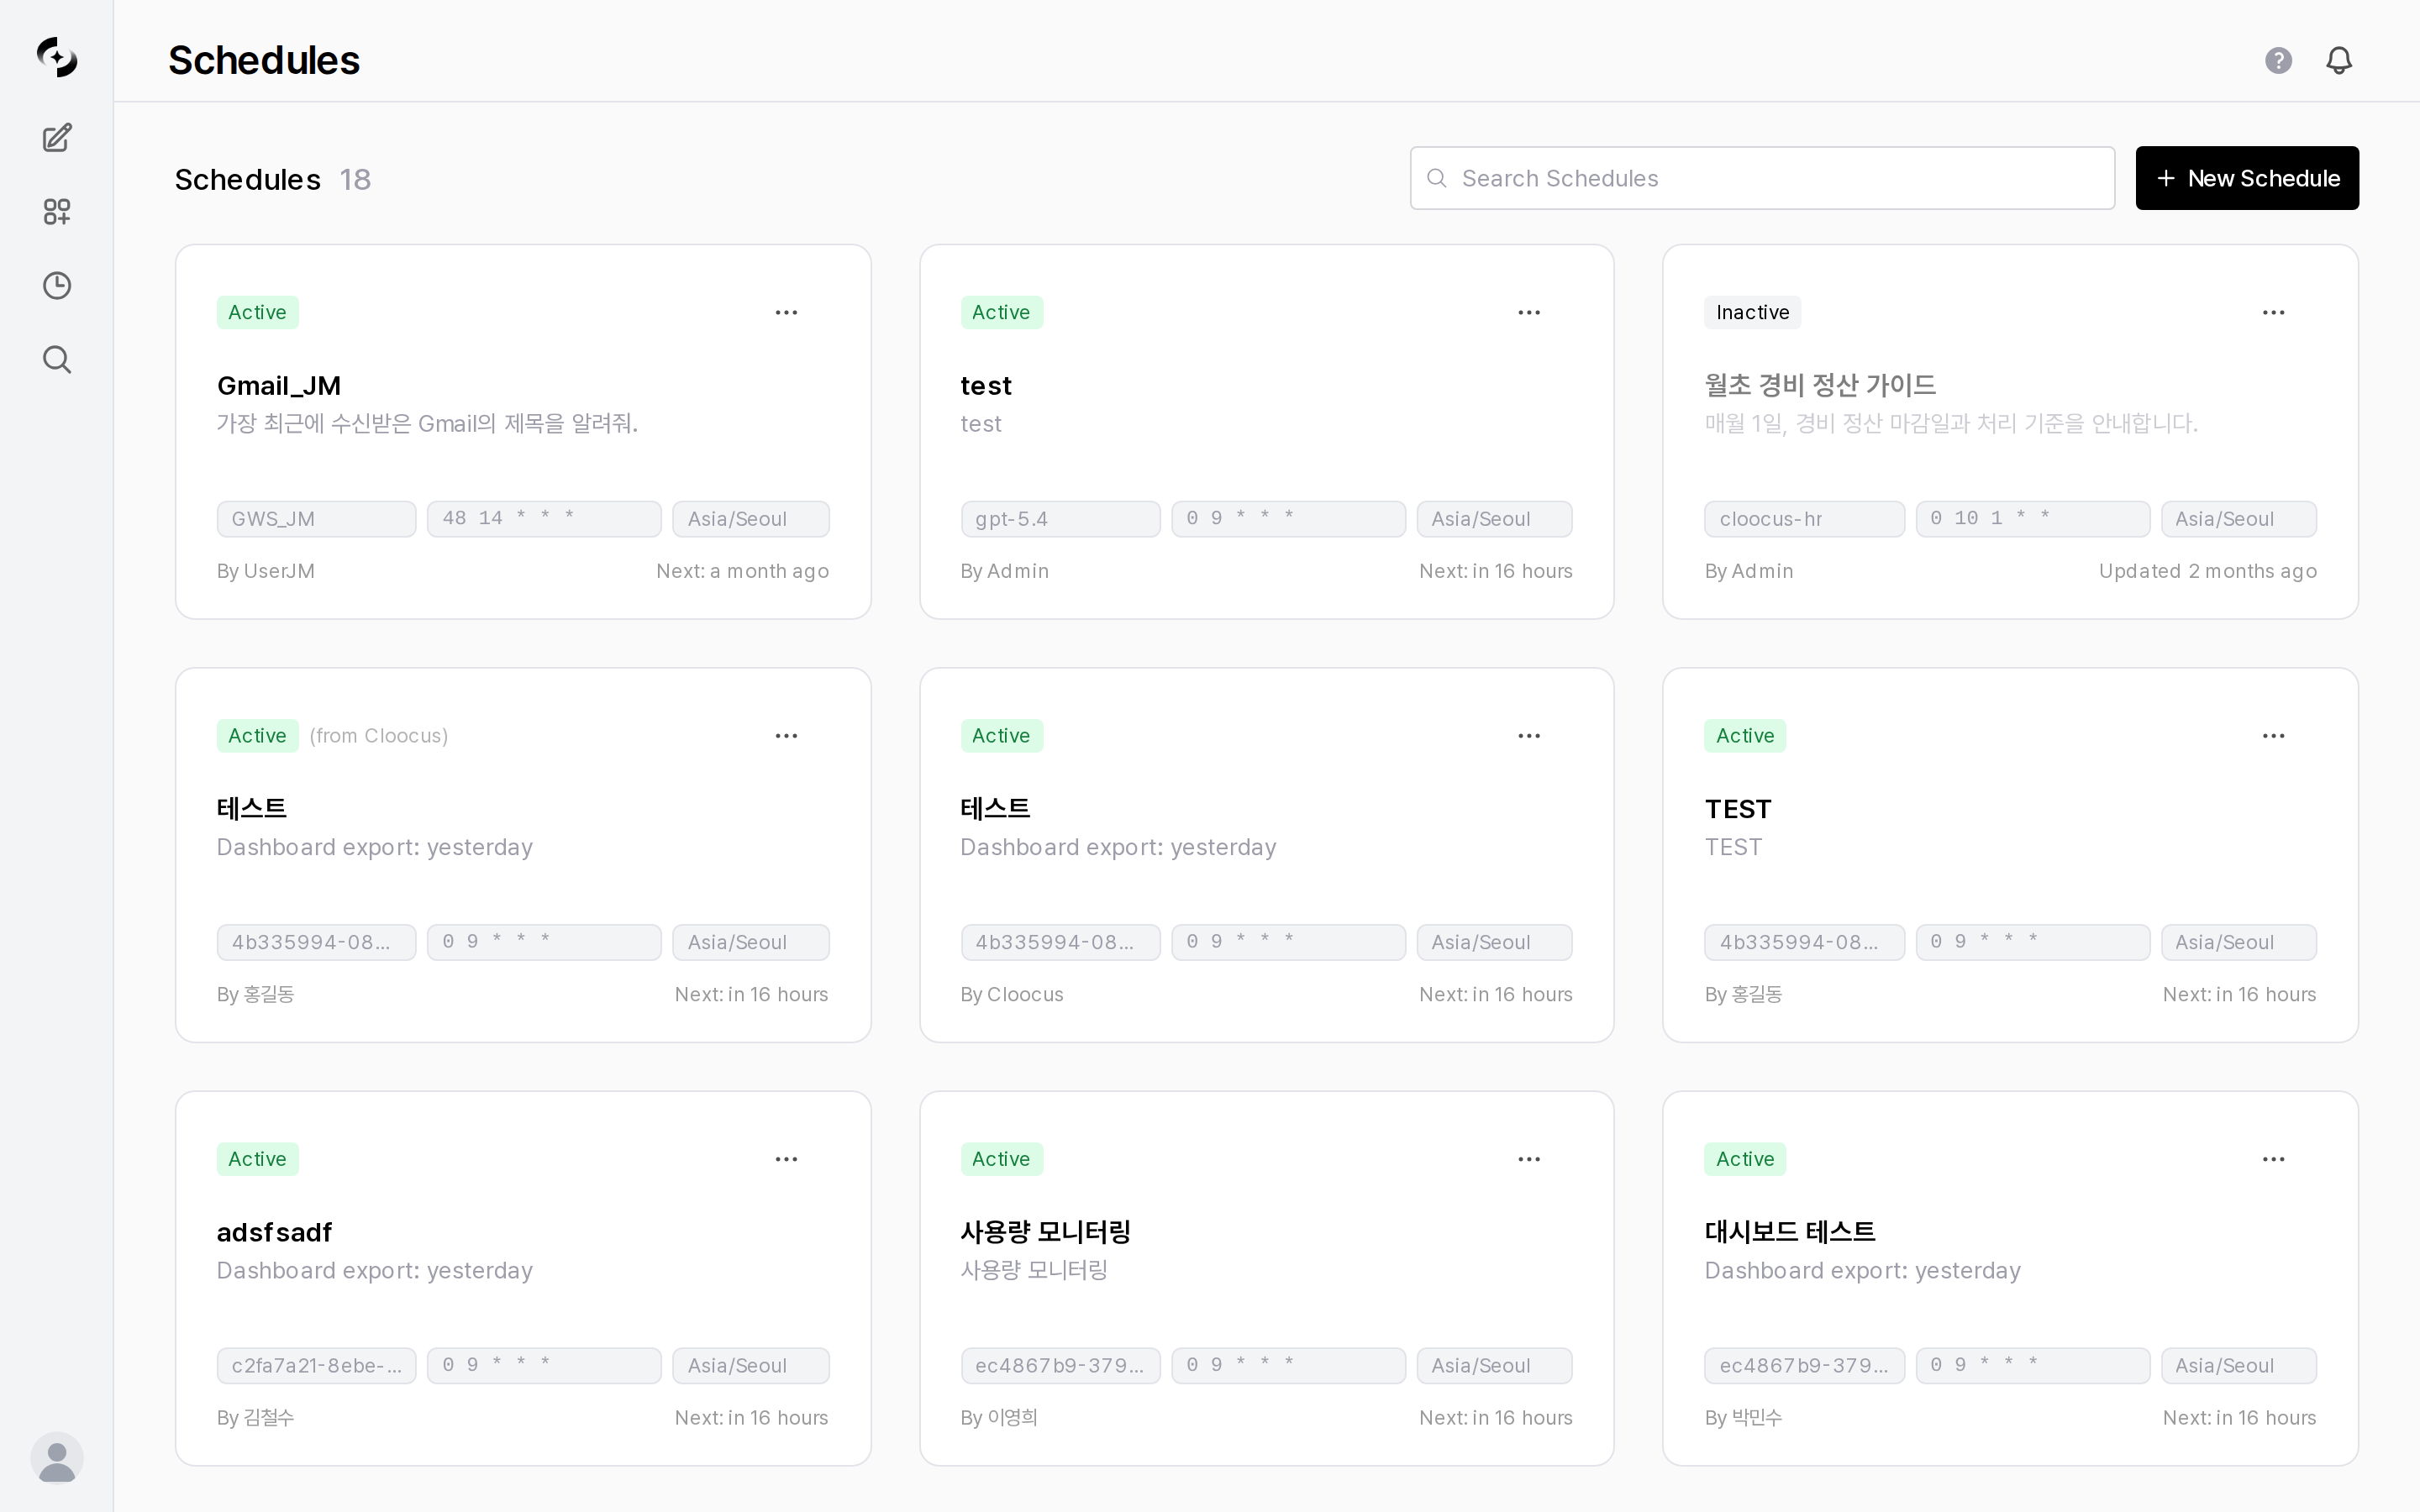
The schedule list shows status, next run time, and target at a glance
Automation Features
Scheduled Tasks
Auto-run agents, flows, models, and dashboards on a cron-based scheduler. Results are always saved to chat, and adding a notification also delivers them by email or webhook.
Coming Soon
Event-triggered automation, conditional workflows, and other automation features are planned.
Automation Scenarios
There are only three delivery conditions — Always, On success, On failure. There is no “immediate” condition; matching notifications are sent as soon as the run finishes.
Automation Flow
Core Concepts
Target
The resource to run automatically. Pick one of agent, flow, model, or dashboard.
Pick the target from the single Target selector. The button reads “Select a model or agent”, but the list contains all four types, each prefixed with
[Dashboards], [Agents], [Flows], or [Models]. Use the search box above the list to narrow it down.
Choosing a Dashboard replaces the Prompt field with a Time Range selector (Yesterday · Today · Last 7 Days · Last 30 Days · Last Week · Last Month · This Week · This Month). A dashboard schedule applies that range to every panel and exports HTML instead of running a prompt; email notifications carry that HTML as an attachment.
Cron Expression
The standard format that defines run frequency.0 9 * * 1-5 means “weekdays at 9 AM”. Under Repeat, the Every N minutes · Every hour · Every day · Every week · Every month presets build the expression for you, so most schedules never need hand-written cron. For frequencies the presets can’t express (twice a day, 0 9,18 * * *), choose Custom and type it yourself.
Notification Channel
Defines where run results are delivered. Notifications are optional — results are always saved to chat — and a single schedule can carry several.
Email and Webhook appear only once an admin has registered the matching channels. With none registered, only Direct URL is available. Each notification carries a delivery condition: Always · On success · On failure.
Slack · Microsoft Teams · Discord · Telegram · Google Chat are not notification types — they are webhook channel providers. Once an admin registers a webhook channel with one of them, pick type Webhook in the schedule and select that channel.
Prerequisites
Getting Started
1
2
Create the schedule
On the Schedules page, click New Schedule and set the name, target, prompt, and run frequency. Name, target, and prompt are required (a dashboard target takes a time range instead of a prompt); notifications are optional. Visibility defaults to Private, so only you can see it.
3
Test run
Once saved, a card appears in the list. Use “Run Now” — from the card’s more menu (⋯) or the detail screen — to run immediately without waiting for the next cycle. “Run Now” is available only after saving and works on inactive schedules, so to test quietly before the first scheduled run, switch it to inactive first and then run.
4
Operate and manage
A schedule becomes active as soon as it’s created and runs automatically on the configured frequency. You do not need to deactivate it to change settings — click the card, edit on the detail screen’s Settings tab, and save; saving leaves the active state untouched. To pause it, use the card’s more menu (⋯) > Toggle or the Deactivate button on the detail screen, and press Activate in the same place to resume.